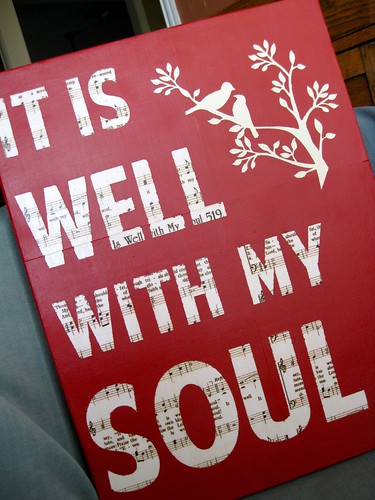
So I have seen several people make various versions of Canvas/Wood Art using the hymn "It Is Well With My Soul." I have always loved that hymn and I thought it would be a great piece for my mantel!
I initially printed out copies of the hymn on photo paper.
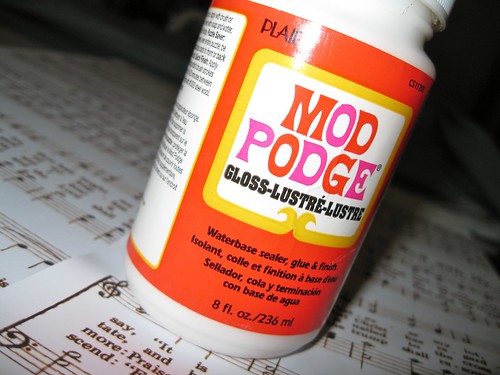
Once I placed the Mod Podge on the photo paper,
it turned into one BIG crinkled mushy mess!
FAIL!!
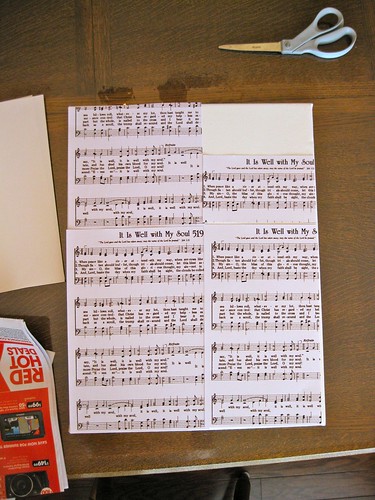
I switched to cardstock which laid down nicely.
The ink did smudge a little but it gave it more of an antiqued look.
For the stencil, I decided to use some left over contact paper that we had lying around.
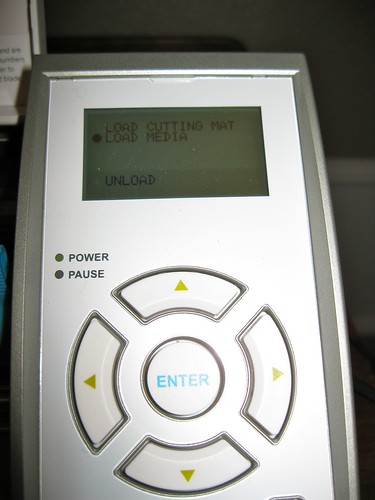
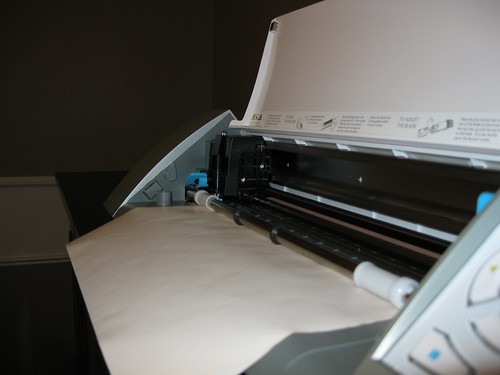
I loaded the contact paper straight into the Silhouette Cameo without a cutting mat.
Be sure and change your load settings on the machine to "Load Media."
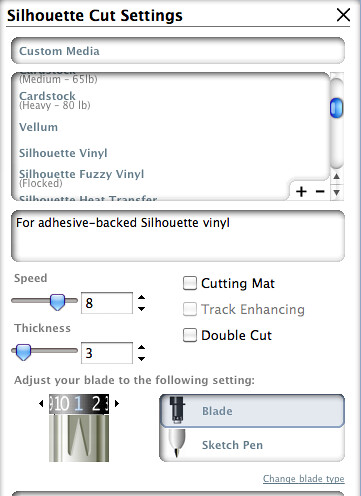
Here's the cut settings I used. It worked great!!
It only cut the contact paper and not the paper backing.
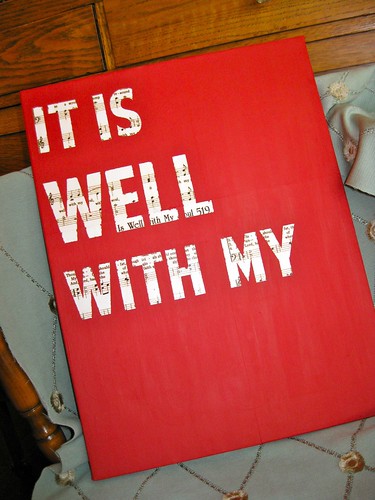
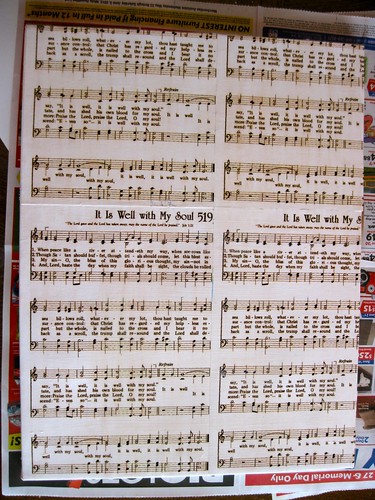
I laid down the letters on top of the mod podged paper
and painted the whole canvas red. After four or five coats of red,
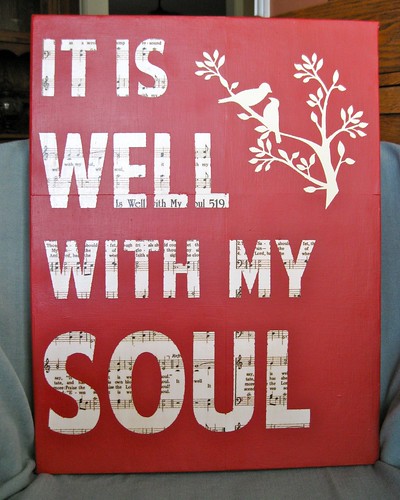
I peeled off the contact paper to reveal the sheet music underneath.
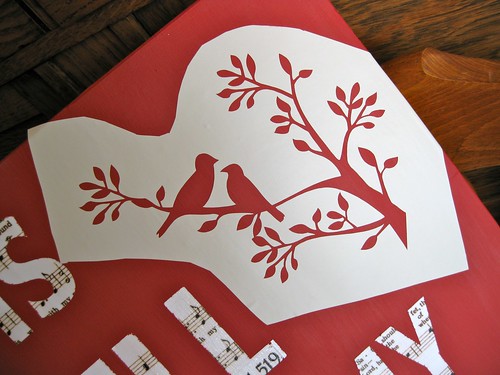
I used birds on a branch from the Silhouette store to make a stencil.
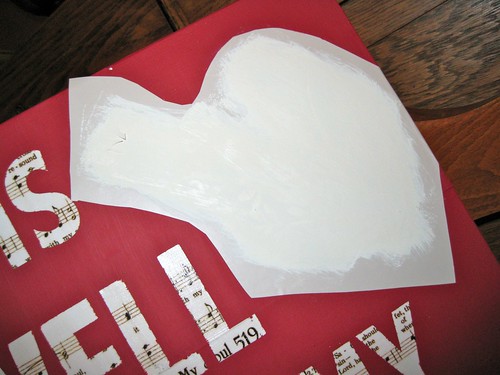
After applying the ivory paint, I was left the acrylic "chalky" finish.
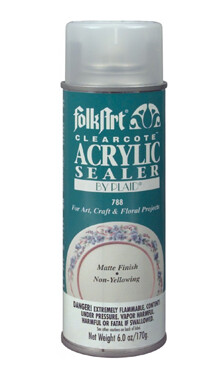
I didn't want the red to rub off on my white mantel, so I applied a clear acrylic sealer.
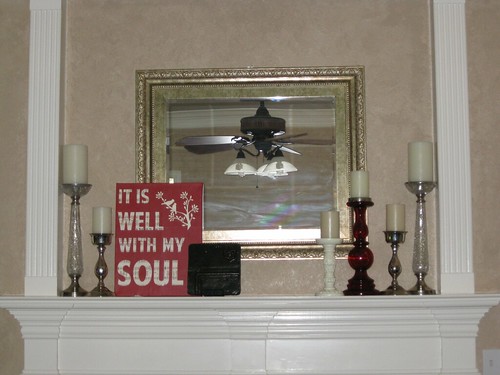
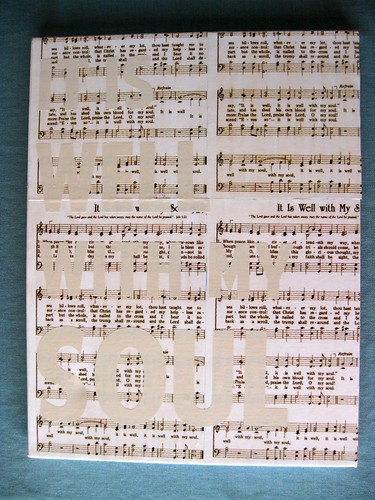
Here it is, all said and done!!!
Just ignore the reflection of the ceiling fan from the mirror.
I couldn't seem to get it out of the picture! :)
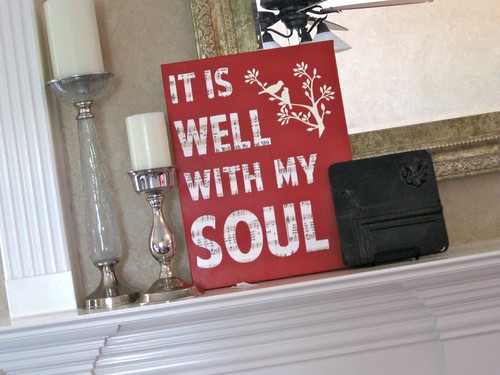
I'm so happy with how it turned out that I had to take one more picture!


This is the perfect piece for your mantel! Thank you for linking it up on my link party!
ReplyDeleteAnd, you're being featured on my blog!
http://www.maidendshade.com/2012/07/youve-got-it-maiden-dshade-8.html
Take care,
Kim
That is one of my all-time favorite hymns! I have thought several times about doing something with "His Eye is on the Sparrow" for my daughter's room, because it has a big mural with birds... and it is a great message for her to grow up with. :)
ReplyDeleteI love that idea! One of the last solos my grandmother sang at church was "His Eye is on the Sparrow." She hasn't sang by herself in a number of years but it's still a wonderful memory for me. I would love to see a picture of the mural when you get it done!
DeleteThis is my favorite hymn! I am inspired to make something similar. Thank you! I found you over at Funky Junk Interiors & am your newest follower. I'd love for you to drop by & visit. Have a great weekend! http://livingaredeemedlife.blogspot.com/
ReplyDeleteThis is one of my favorite hymns too. Your project is inspiring. I am glad to see how you did it, as well as what did and didn't work. On top of it all, that bird stencil really finishes it off. It's such a sweet thought to dwell on!
ReplyDeleteLiz
PS: I'm also now following! Hope you'll stop over and see me at Quirky Vistas.
ReplyDeleteLiz
Beautiful art, I love the color contrast. Wonderful.
ReplyDeleteSuch a fabulous and professional job!!!... Am super envious of your stencil machine, wowsers! Love the character you added with the sheet music too.
ReplyDeleteWhat a great job you did on this piece of hymn art. I love it!
ReplyDeleteHow beautiful! Thanks so much for the great how to....enjoy!
ReplyDeleteKelly { chicsaturday.com}
Love this quote! It looks awesome!
ReplyDeletemakingitfeellikehome.blogspot.com
Your version turned out great. Plus it looks awesome on your white mantle!
ReplyDeleteThis is really cute, I love how you put the music on there so it shows through. Great job!
ReplyDeleteYou did a fabulous job with this. It looks so nice on your mantle. Thanks so much for linking this great post to my say G'day Party! i loved it so much I featured it at my blog today.
ReplyDeleteI hope you will be be able to say g'day again this weekend at my very first Let's Get Social {Media} Linky Party!
Best wishes,
Natasha in Oz
Your canvas really is beautiful!! I love the sheet music for the letters - great job! Thanks for linking up - I featured you today! http://www.flamingotoes.com/2012/07/crush-of-the-week-think-pink-features-57/
ReplyDeleteLove this! Just featured your project on our FB page! Have a nice weekend!
ReplyDeleteTake care,
Trish
Oh, love that!! So glad uncommon shared you with us on Facebook!! Newest follower!
ReplyDeleteAwesome! Thanks so much for the visit! :)
DeleteHow does the letters stay in place while you r painting the canvas red. Do they stick to the mod podge without moving and is it hard to peel the letters away. I'm sorry, I guess I'm not understanding exactly how it works
DeleteThat is so neat! Thanks so much for linking up at www.mercyINKblog.com :)
ReplyDeleteblessings,
lauren
I love it! I used to play the piano for my dad as he sang all the old hymns, brings back memories!!! Hopped over from I Gotta Create and I'm your newest follower. Would love to have you stop by for a visit and follow me back. http://www.vintagestreetdesigns.com Have a great night. ~ Judy
ReplyDeleteThose are wonderful memories! Thanks for sharing!!
DeleteVery nice sign and hymn. Stopping by from My Uncommon Slice of Suburbia.
ReplyDeleteI love your It is Well with My Soul canvas!!!!!! I am going to try to make one .... I have used stickers on canvas and pulled up the stickers to let the background show -- i am hoping contact paper works better as it was really difficult in the past to pull up the stickers (and even when painting over them, the paint seeped under the stickers some.) How long did you let the paint dry before you pulled up the contact paper?
ReplyDeleteAndrea, The paint did seeped underneath a little bit on the smaller areas, like the branches... I did do a small amount of touch ups. Overall it pulled off very easily (probably because of the mod podge over the paper). I probably let it sit for a few hours before I peeled the contact paper. I doubt I had the patience to let it sit much longer than that. haha. I'd love to see your canvas when you are done!! :)
DeleteThis is just beautiful.
ReplyDeleteLove this idea!!
ReplyDeleteThis too is one of my favorite songs. I do not have the crafting ability nor the machine to cut out letters. Is there a chance that you make them and sell them?
ReplyDeleteJason, I am not currently selling any of my projects. I have a full time job (with a good bit of overtime) that has kept me from going down this route. I have seen people still use the contact paper and just cut out the letters with an exacto knife or another option is buying pre-made stencils from Hobby Lobby or Michaels. Thanks for the interest though!
DeleteI just attempted one of these and the paint bled like crazy! Any suggestions? I'm wondering if spray paint will help.. is that what you did? I tried using a foam brush. Yours is beautiful!
ReplyDeleteThat's a bummer! I used acrylic paint (Americana & Craft Smart). Just the ones you can by from Michael's. I applied several coats (and I mean several - maybe 4 or 5 coats of the red and 3 or so of the ivory color) with a smaller foam brush and I tried to make each coat fairly thin. I let each coat get dry in between (30mins to an hour). I had a small amount of bleeding but you would have to be right up on the canvas to see it.
DeleteI have done a little spray painting with contact paper, it tends to bleed a little more for me. I feel like it takes even thinner coats with spray paint to keep that from happening. If you spray it on too thick the contact paper tends to start curling up and it's hard to make it lie flat.
I hope the next project works better for you!
Love this!!! How did you put the music sheet on exactly? I am worried about the edges!! So creative!
ReplyDeleteThanks! I cut the paper to size and flush with the sides of the canvas. I put Mod Podge on both the back of the paper and the front of the canvas and place each piece on the canvas. If you end up having a little bit of overlap on the paper, the mod podge makes it soft enough to bend around the corners of the canvas. Once all of that dried, I slapped on a few coats of mod podge on top of the paper to "seal" it.
DeleteI still love this canvas Nicole! It's gorgeous!
ReplyDeleteI did a roundup of my Six most popular featured projects from 2012 and this tutorial made the list!
Thanks so much for linking it up last year!
Bev
I love how this turned out! Pinning!
ReplyDeleteI love this! I will be making this one day this week! I am using an 11x14 canvas, any idea how big I should make my letters? Love it!
ReplyDeleteMine is an 18 x 14 in canvas and the first line of letters are 2.25in tall, second is 3 inches, third is 2.25 inches and the fourth is 4 inches tall. Hope that helps!
DeleteI know that the question is a bit older...but I read that after you apply the stencil to then do 1 coat of the base coat (not sure if you would use black or white since you used sheet music vs a plain color) and then you do your multiple coats of top coat (red)
ReplyDeleteSorry for the delayed reply, I've been a little busy this month. After I glued the sheet music to the canvas, I covered it in a layer or two of Mod Podge. I was afraid that stencil might mess up the paper, so I just used the Mod Podge as a barrier to keep the non-red areas (letters) clean. Then the stencil went on top. Once I placed the stencil, I only used red paint (several coats). Canvas --> Mod Podge --> paper --> Mod Podge --> Stencil -->Red Paint --> remove Stencil
DeleteDoes the letters stay in place on the mod podge while you r painting the red and does the letters peel off ok after being painted. I'm sorry, I guess I don't quite understand
ReplyDeleteSharon the letters stuck well since I used contact paper (the stuff you line your drawers with). They also removed easily. I just used my fingernails to grab one of the corners and pealed it off. I'm sure a weeding tool would make it even easier.
DeleteAwesome. Really great idea there. Cool.
ReplyDeleteCanvas Photos